A Model Context Protocol (MCP) server for Django applications, inspired by Laravel Boost
Quick Install
Automated & IDE SetupCopy the AI prompt to install this server into Claude Code, Cursor, or another agent — or use 1-click editor setup below.
Manual Client & Custom JSON ConfigExpand JSON ▾
Client Config & Setup
Choose your client or environment
Target File:
💡 Paste the JSON block into your client's configuration file under mcpServers, then restart the application.
Documentation Overview
Django AI Boost
A Model Context Protocol (MCP) server for developing Django applications, inspired by Laravel Boost. This server exposes Django project information through MCP tools, enabling AI assistants to better understand and interact with Django codebases.
Table of Contents
- Features
- Screenshots
- Installation
- Usage
- AI Tools Setup
- Available Tools
- Example Usage
- Development & Testing
- Troubleshooting
- Requirements
- Contributing
- License
Features
- Project Discovery: List models, URLs, and management commands
- Database Introspection: View schema, migrations, and relationships
- Configuration Access: Query Django settings with dot notation
- Log Reading: Access recent application logs with filtering
- Production-Ready Authentication: Bearer token authentication for secure deployments
- Read-Only: All tools are safe, read-only operations
- Fast: Built on FastMCP for efficient async operations
Screenshots
Click to view screenshots
Django AI Boost in Action
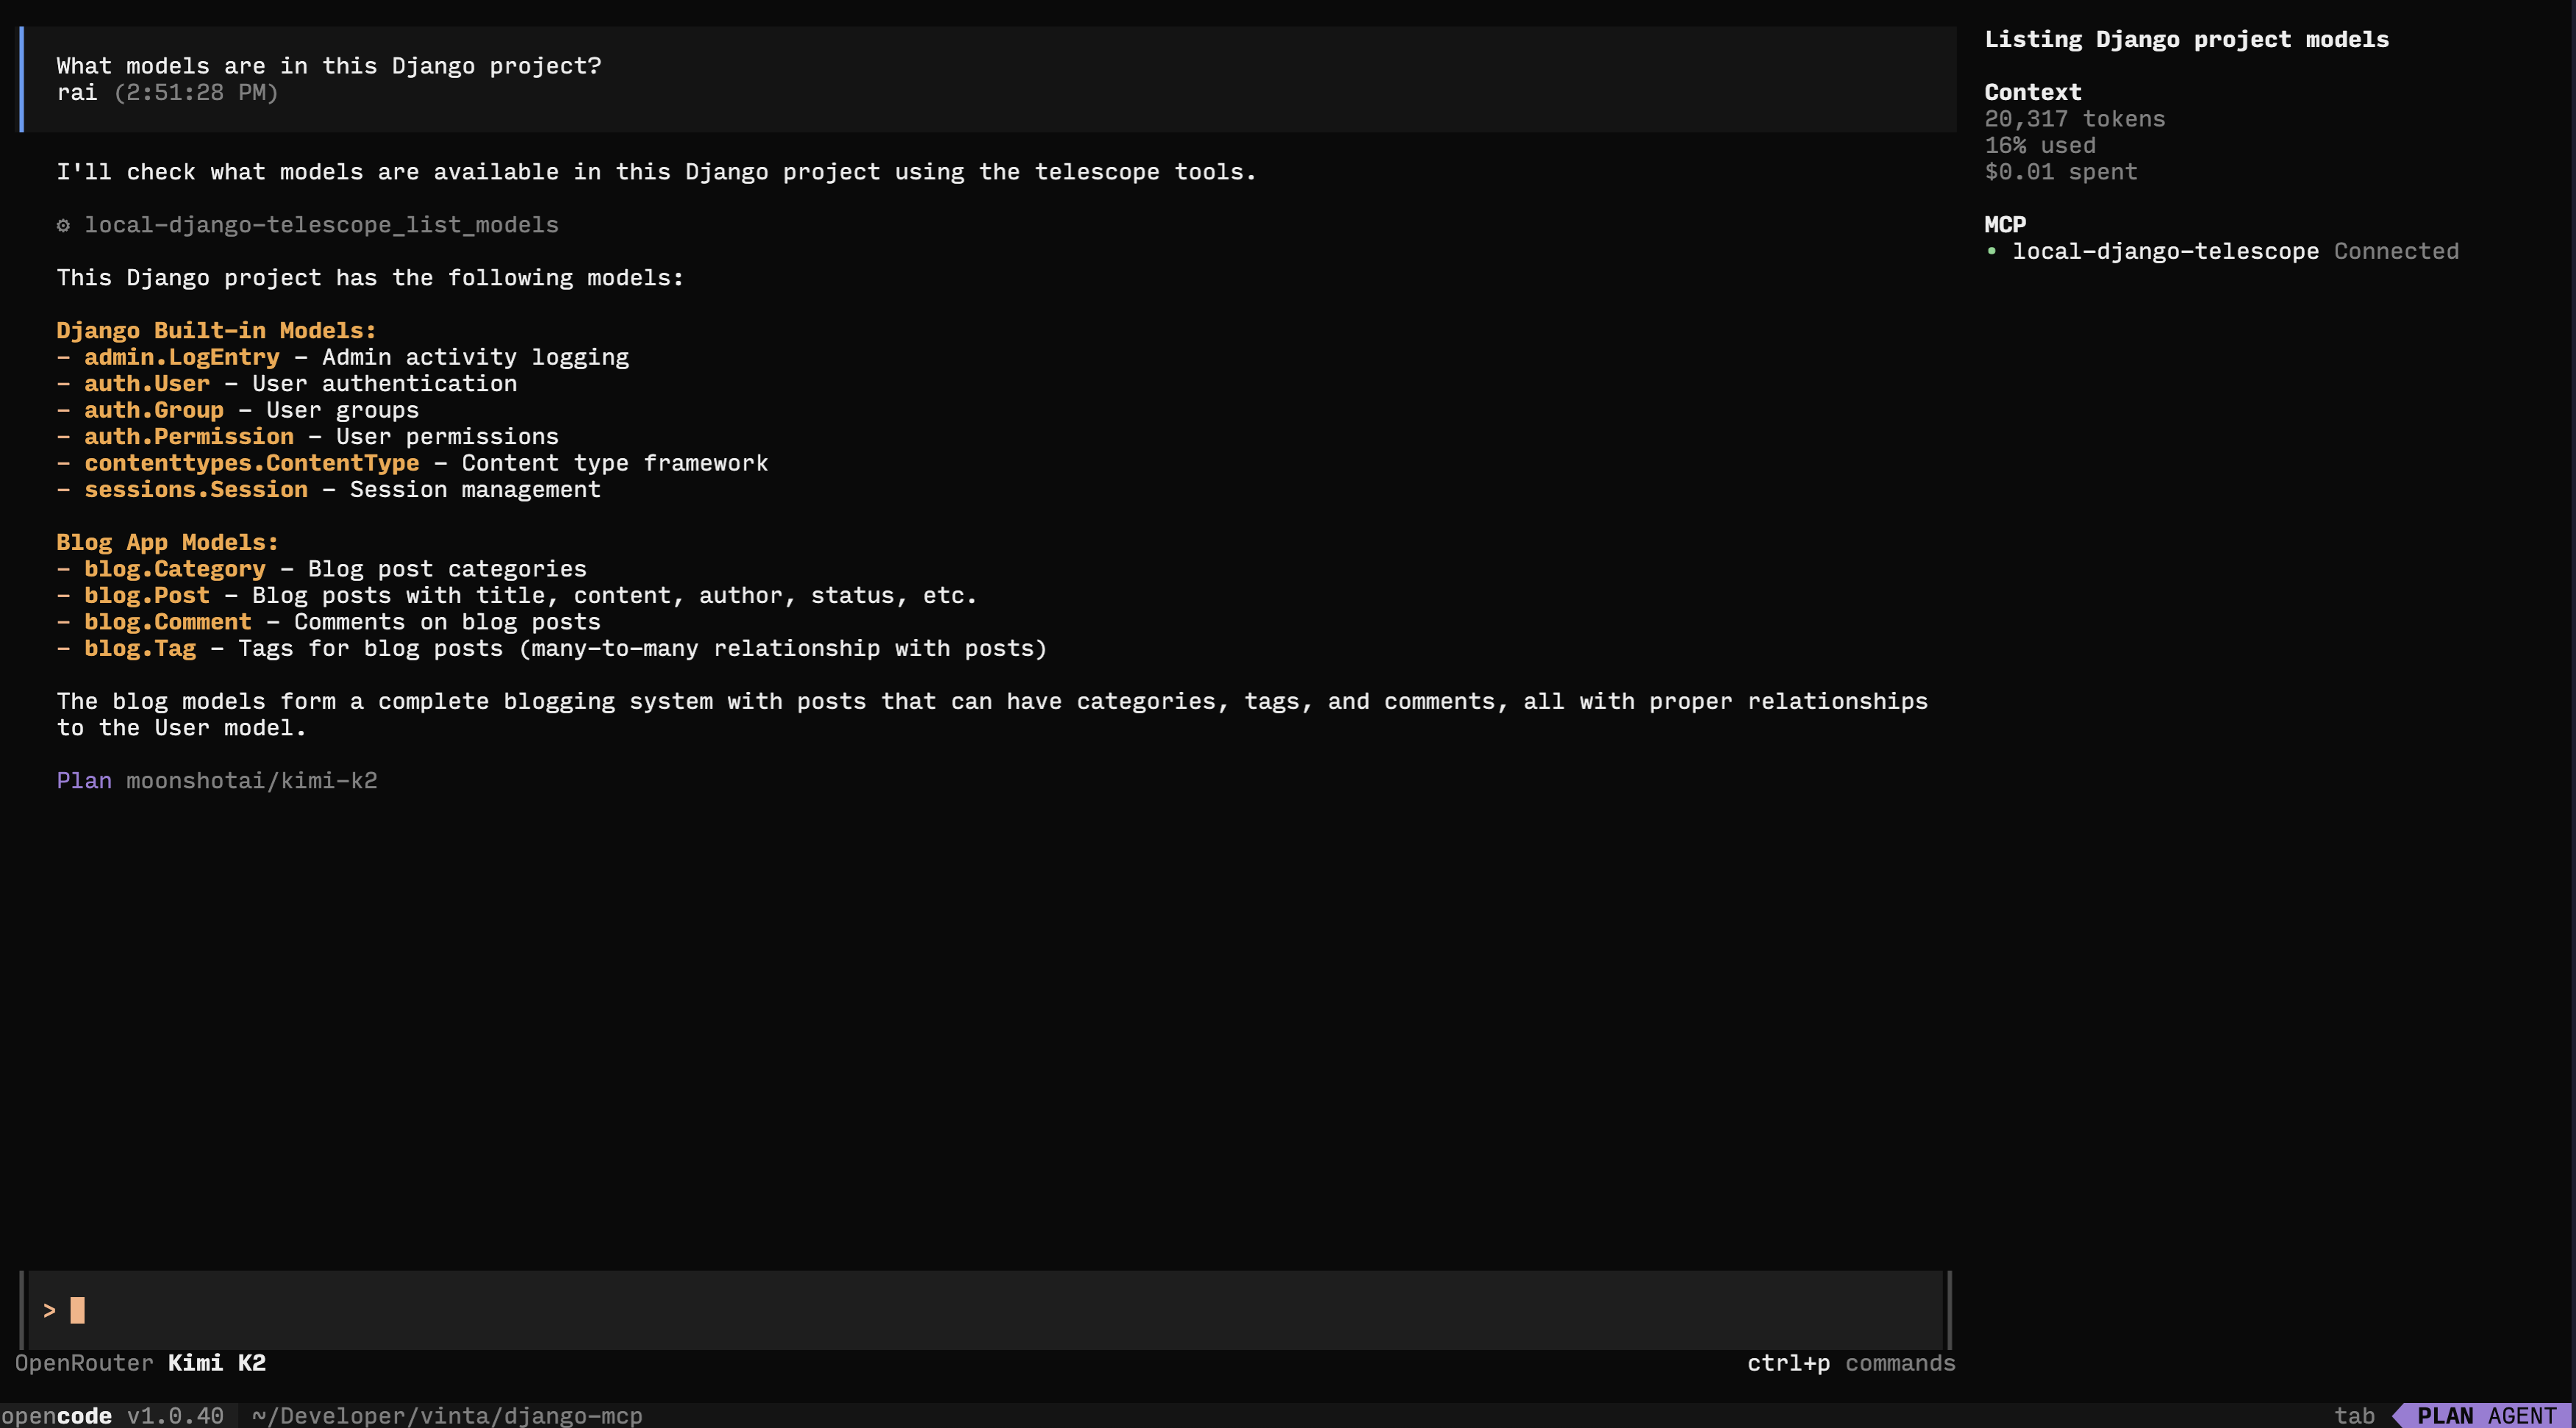
Django AI Boost MCP server providing Django project introspection through AI assistants (Example using OpenCode)
Installation
For End Users
For Development
If you want to contribute or run the latest development version:
Usage
Running the Server
The server requires access to your Django project's settings:
Note: The stdio transport (default) communicates via standard input/output and does not use network ports. The --port and --host options only apply when using --transport sse.
Authentication
Django AI Boost supports bearer token authentication for secure production deployments when using SSE transport.
Quick Start
Set authentication token (recommended for production):
Or use CLI argument:
How It Works
- Automatic Production Mode: When Django's
DEBUG=Falseand using SSE transport, authentication is automatically required - Token Precedence: Environment variable takes precedence over CLI argument for security
- Transport Support:
- ✅ SSE Transport: Full authentication support (HTTP-based)
- ❌ Stdio Transport: No authentication (local-only, trusted environments)
- Error on Mismatch: If you provide
--auth-tokenwith--transport stdio, the server will exit with an error to prevent false security assumptions
Production Deployment
When running in production (DEBUG=False) with SSE transport, you must provide an authentication token:
Security Best Practices
-
Generate strong tokens:
-
Never commit tokens to version control
-
Use environment variables in production (not CLI arguments)
-
Rotate tokens periodically
-
Use HTTPS with a reverse proxy for external access
Client Configuration with Authentication
When using authentication, configure your MCP clients to include the token:
Cursor / Claude Desktop:
Testing with curl:
Troubleshooting Authentication
"Production mode detected but no authentication token provided"
- Set
DJANGO_MCP_AUTH_TOKENenvironment variable or use--auth-token
"Authentication token provided but transport is 'stdio'"
- This is now an error that stops the server from starting
- Authentication only works with
--transport sse - Either use
--transport ssewith your token, or remove the--auth-tokenargument for stdio
"Running in production mode with stdio transport"
- This is OK for local/trusted environments, but stdio has no authentication capability
- For remote access, use
--transport ssewith authentication
AI Tools Setup
Cursor
Cursor is a popular AI-powered code editor with built-in MCP support.
- Open Cursor Settings (Cmd/Ctrl + Shift + J)
- Navigate to the "Tools & MCP" section
- Add the Django AI Boost server configuration:
Note: Replace /path/to/your/django/project with the actual path to your Django project root directory.
For more information, see the Cursor MCP documentation.
Claude Desktop
Add to your Claude Desktop configuration:
- macOS:
~/Library/Application Support/Claude/claude_desktop_config.json - Windows:
%APPDATA%\Claude\claude_desktop_config.json - Linux:
~/.config/claude/claude_desktop_config.json
Note: Make sure to replace /path/to/your/django/project with the actual path to your Django project root directory.
Github Copilot (VS Code Extension)
- Install the Github Copilot Chat extension from VS Code marketplace
- Create or edit
.vscode/mcp.jsonin your Django project root:
-
Click "Start" in the JSON
-
Github Copilot Code will automatically connect to the MCP server when you start a conversation in "Agent" mode.
Claude Code (VS Code Extension)
- Install the Claude Code extension from VS Code marketplace
- Create or edit
.mcp.jsonin your Django project root:
- Restart VS Code or reload the Claude Code extension
- Claude Code will automatically connect to the MCP server when you start a conversation
OpenAI ChatGPT Desktop with MCP
Related MCP Servers
Reviews
No reviews yet — be the first to share how this listing worked for you.
Frequently Asked Questions about Django Telescope
AllMCPs Directory Badge
Showcase your server listing on GitHub or your project documentation. Embed this dynamic SVG badge to highlight official listing status and live engagement.
Badge Style:
Live Dynamic SVG Preview
Markdown (GitHub README)
[](https://allmcps.com/mcp/django-telescope)HTML Embed
<a href="https://allmcps.com/mcp/django-telescope"><img src="https://allmcps.com/api/badge/django-telescope?style=directory" alt="Django Telescope on AllMCPs" /></a>